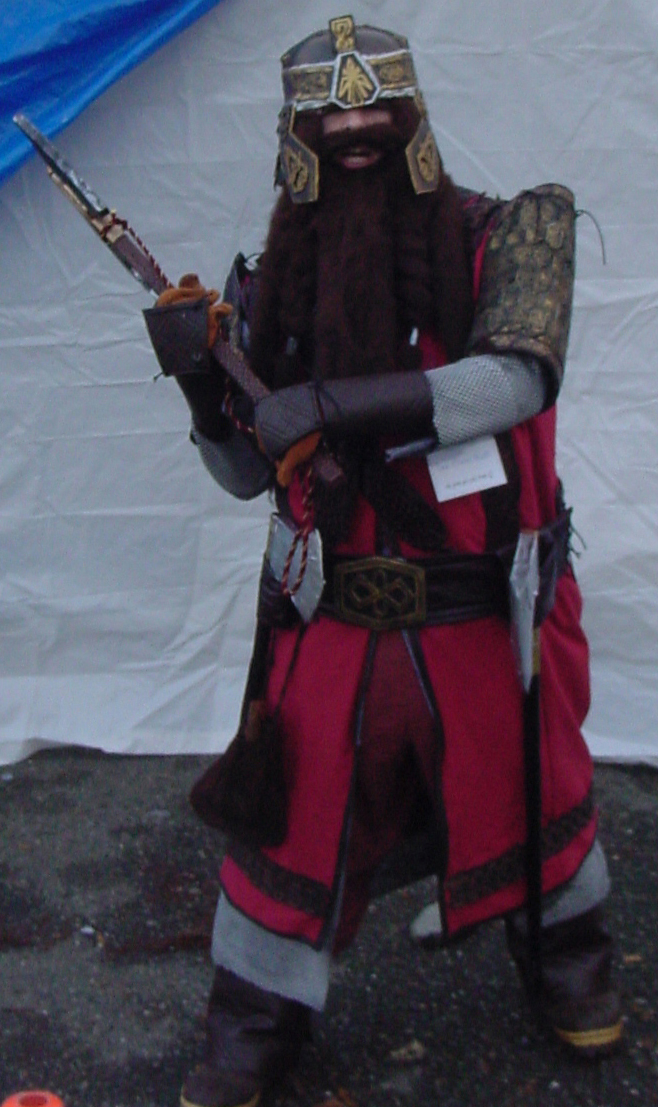
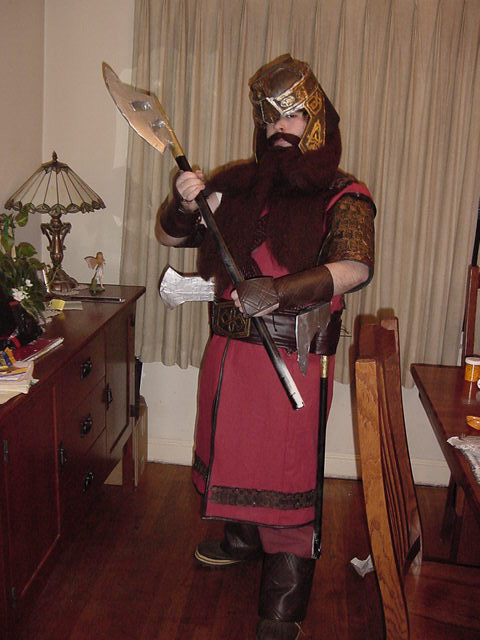
 The
pictured version is my trial run of Gimli and I’m very proud of how it turned
out on a budget!
The
pictured version is my trial run of Gimli and I’m very proud of how it turned
out on a budget!Gimli Costume Detail
The
pictured version is my trial run of Gimli and I’m very proud of how it turned
out on a budget!
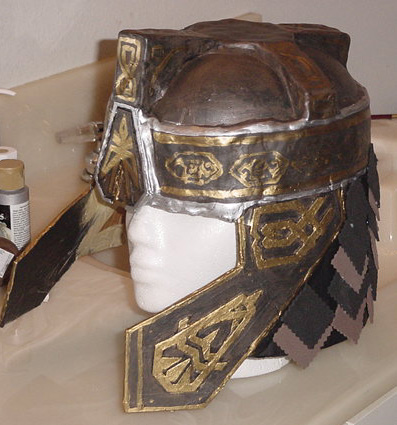
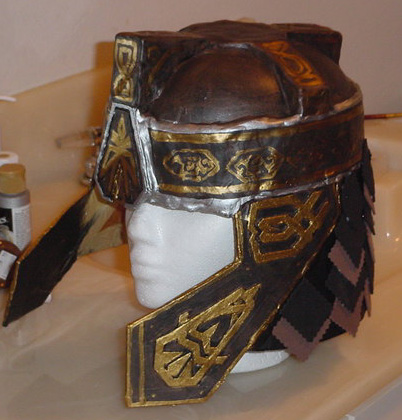
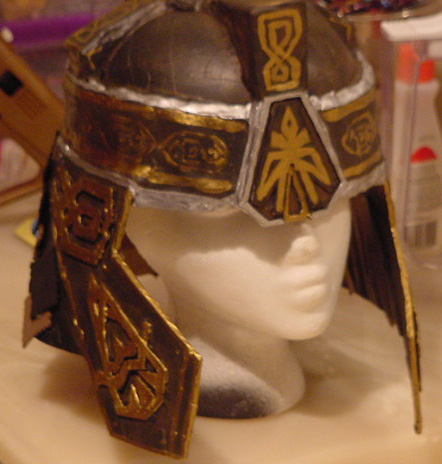
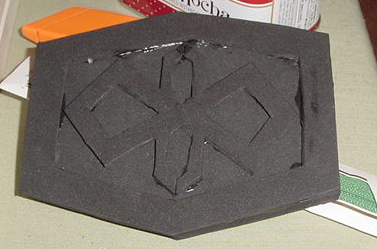
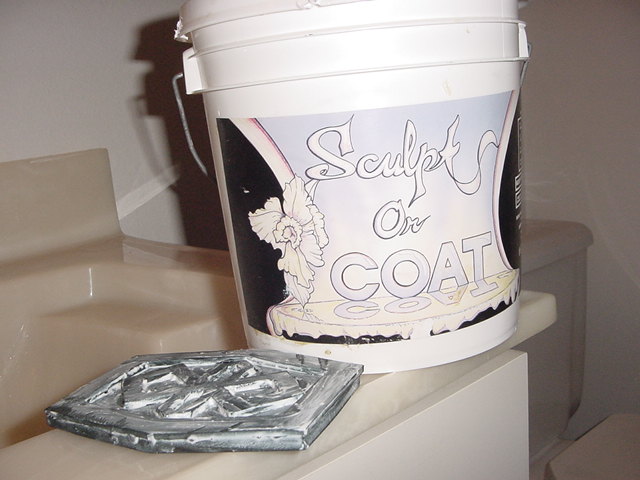
Let’s start at the top and work our way down, shall we? The helmet base was a plastic WWII German soldier helmet. I used an exacto knife to trim away the excess plastic. The raised designs on the top were made with cardboard and duct tape and covered with a couple of layers of Gapoxio, then painted appropriately. The side cheek protectors were cardboard, with the 3-D designs also carefully cut from thick cardboard and glued on. These pieces were coated with several layers of Sculpt or Coat glue and then painted. The back neck protector is also cardboard, painted and then covered with small squares of fun foam in different colors of brown and black/grey, cut out with pinking shears. I would make these pieces smaller next time – I don’t like how bulky they look here.
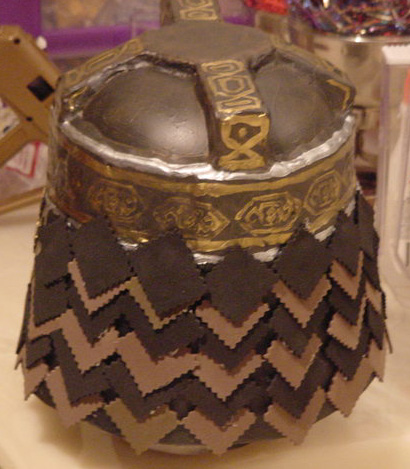
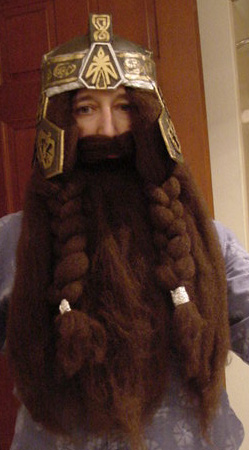
Inside the back of the helmet, and just inside the cheek protectors, I attached thick braids made of reddish brown crepe hair. The beard and mustache were made from crepe hair as well, from two different beard kits from my local Display and Costume store held on with a simple elastic band. I made bread crimping "beads" from aluminum foil.
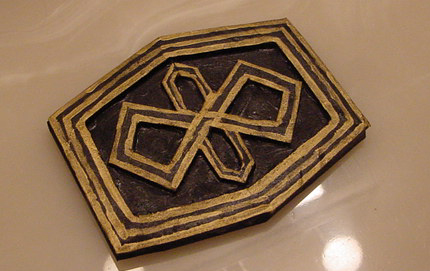
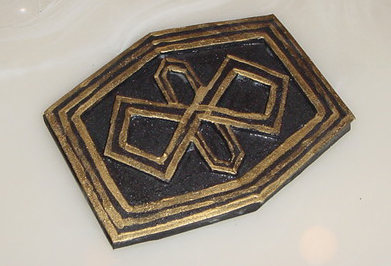
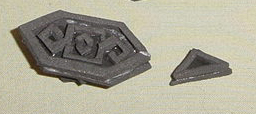
The tunic was made of a heavy reddish cotton on clearance at JoAnn Fabrics. I attached several cool braided leather belts from The Limited clearance rack with hotglue and handstitching near the bottom edge. The center front closed with snaps that stayed hidden under the expansive beard. Over the tunic went a fancy axe holder and belt. The over the shoulder axe holder part was made from more of the same wide braided belts, and attached to a belt made of dark brown pleather. All attachments were made with loops of waxed black cording to make it look rather rustic. The buckle is layers of fun foam cut and glued together, coated with Sculpt or Coat, and painted.
Loops of pleather were sewn on in strategic axe carrying places.
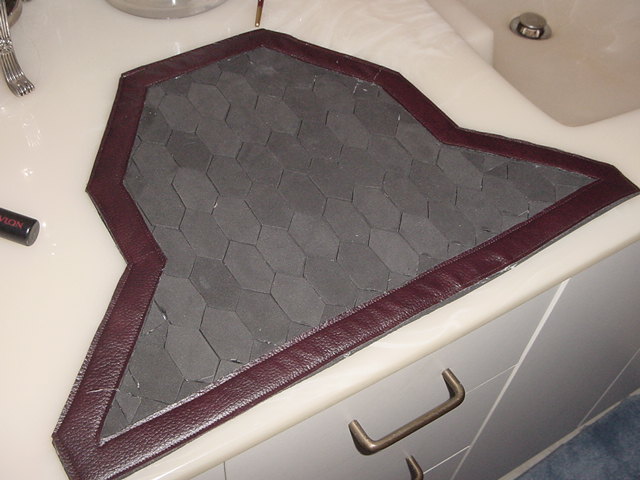
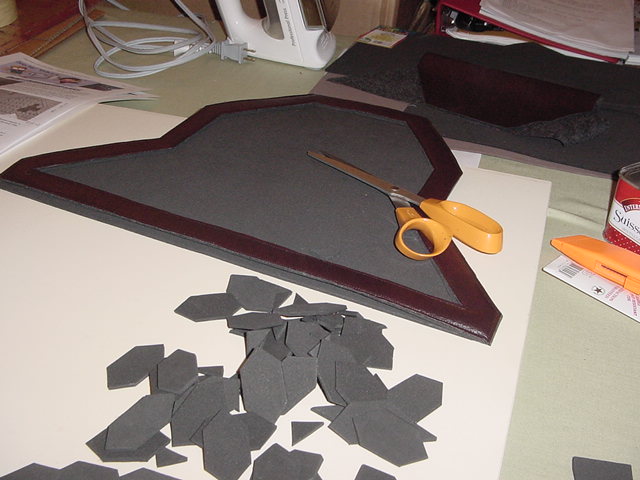
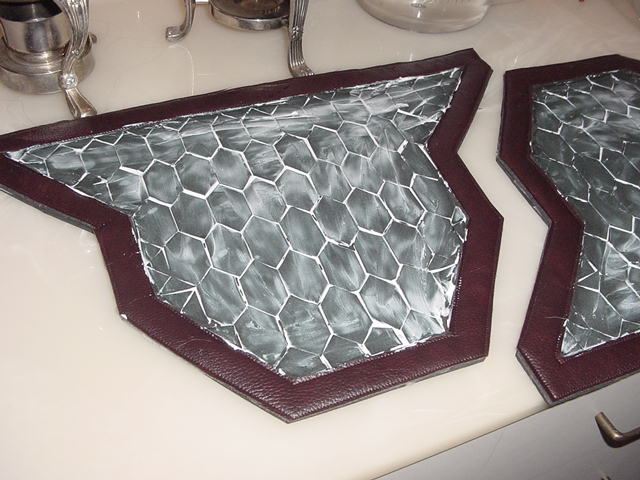
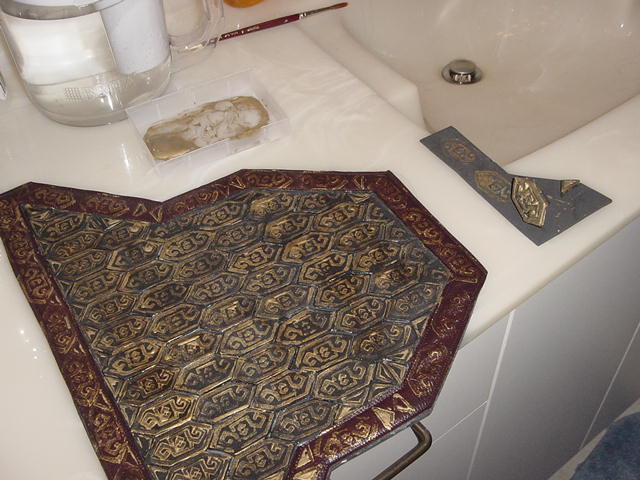
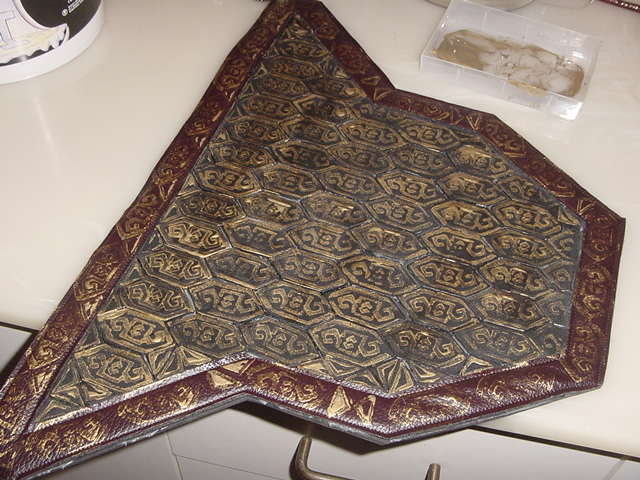
The pauldrons were fun to make. A layer of craft foam was cut to size, then a second layer was sewn to dark brown pleather and the two layers glued together with hot glue. I cut out a whole bunch of ‘scales’ from craft foam and glued them into the inner space. The scales were then coated with Sculpt or Coat (sensing a theme here?). I made a stencil/stamp from fun foam and used it to transfer the gold design to each scale.
The boot covers and gauntlets were made of thin fun foam, cut to shape and covered with pleather. I used my sewing machine to sew a vaguely geometric design, simulating the intricately carved leather designs. Both boot covers and gauntlets were laced on with waxed black cording. My client found an appropriate pair of heavy leather gloves and clunky boots to wear underneath.
 The
chain mail was rubbery black drawer liner from Home Depot, sprayed with silver
metallic spray paint. I made a lightweight cotton undertunic and sewed a length of
the liner to bottom edge, and made sleeves from it as well.
It is light weight, approximates the interesting square-ness of Gimli’s
chain mail and was very inexpensive. The
only drawback is that it must be worn with a layer of clothing between it and
your skin, as it doesn’t breathe at all, the silver paint rubs off, and some
people are allergic to this kind of plastic. Just be careful if you use this method!!
The
chain mail was rubbery black drawer liner from Home Depot, sprayed with silver
metallic spray paint. I made a lightweight cotton undertunic and sewed a length of
the liner to bottom edge, and made sleeves from it as well.
It is light weight, approximates the interesting square-ness of Gimli’s
chain mail and was very inexpensive. The
only drawback is that it must be worn with a layer of clothing between it and
your skin, as it doesn’t breathe at all, the silver paint rubs off, and some
people are allergic to this kind of plastic. Just be careful if you use this method!!
My client made his own axes from PVC pipe, cardboard, duct tape and pieces of Styrofoam. They came out pretty nice!
![]() Back to Gimli Costume Main Page
Back to Gimli Costume Main Page